Tuesday, September 12, 2017

Our Linear Calendar


Since March we have been using this fabulous linear calendar. Although I could have easily just bought a typical wall calendar I decided to try something different. I've been reading here and there about linear calendars and how effective they are for younger children to understand the sequence of events. A lot of the calendars I came across were way too long and large for the space I had available and they seemed too confusing and cluttered for what I had in mind. I wanted something clear, user-friendly and manageable. 


I made our calendar based off the model from Pocket of Preschool. I loved how easy it was to use and how it helped the children see their own schedule. There are a few things that I have changed to make this calendar work better for us like the "Today" dot and including the days of the week.


Using the Calendar


We use this calendar everyday! It is the first thing we do at the start of our work cycle and the kids are always eager to see what is special about that day or something coming up later in the month. I always invite them to come help with the calendar and write an "X" over the previous day. We do a short discussion about yesterday, today and tomorrow, and discuss any important upcoming events.

When it's time to begin a new month we change the month card, wipe off all the "X" marks on the number cards and remove all days of the week and picture cards. We work together to replace the days of the week in the right order for the new month and place picture cards with the correct days. So for example, every Sunday is our cleaning day, so we post a little picture of cleaning up or on Tuesdays we have Arabic so we post a card showing Arabic letters. The kids have really responded well to this calendar. It has definitely helped them understand the concept of time more clearly and have a better understanding of what to expect in the upcoming days.

What I love most is that this calendar gives the children autonomy in that they know what they are doing on a particular day. They know what is coming tomorrow or in a certain number of days. Some times they even remind me of something we should be doing! It also teaches them about responsibility and working cooperatively to set the calendar each month and take care of it throughout the month.


Picture Cards

These are some of the picture cards we use to give you an idea. We have routine events like Friday prayer, Arabic and cleaning days and then other special events like traveling, Eid, a play date, or a birthday.

*Please note these are Google images*


Some Changes

I'd really like to find a way to display the months in order somewhere on the wall along with a display of the changing seasons. I'm still brainstorming but this is definitely something I want to incorporate into our calendar activities in the coming months. 

Do you use a linear calendar? How do you make it work in your space? Share your experiences with us on Facebook!

Saturday, September 2, 2017

We're Back!


Ok, so it has been almost a year since my last post. I guess I'm not much of the blogger type but I'm really going to make an effort this school year! Although there is not much posted here on the blog we have been quite busy the past school year. We moved countries, lived in a hotel for a quite a while, added a new person to the family (Welcome, Ben!) and moved again within the same country. Let's just say last year was not my best year for being organized and on top of things. I feel like I was in survival mode for most of the year, but we did still progress with our homeschooling adventures. Here are some photos from our work this past year:

Cutting skills have improved immensely!

Setting the table on a super small table, haha!

Hammering nails in some old tree trunks

Metal insets were a popular work for both A & M 


Dates, anyone?

Working together on sound games

Checking the linear calendar for our activity that day

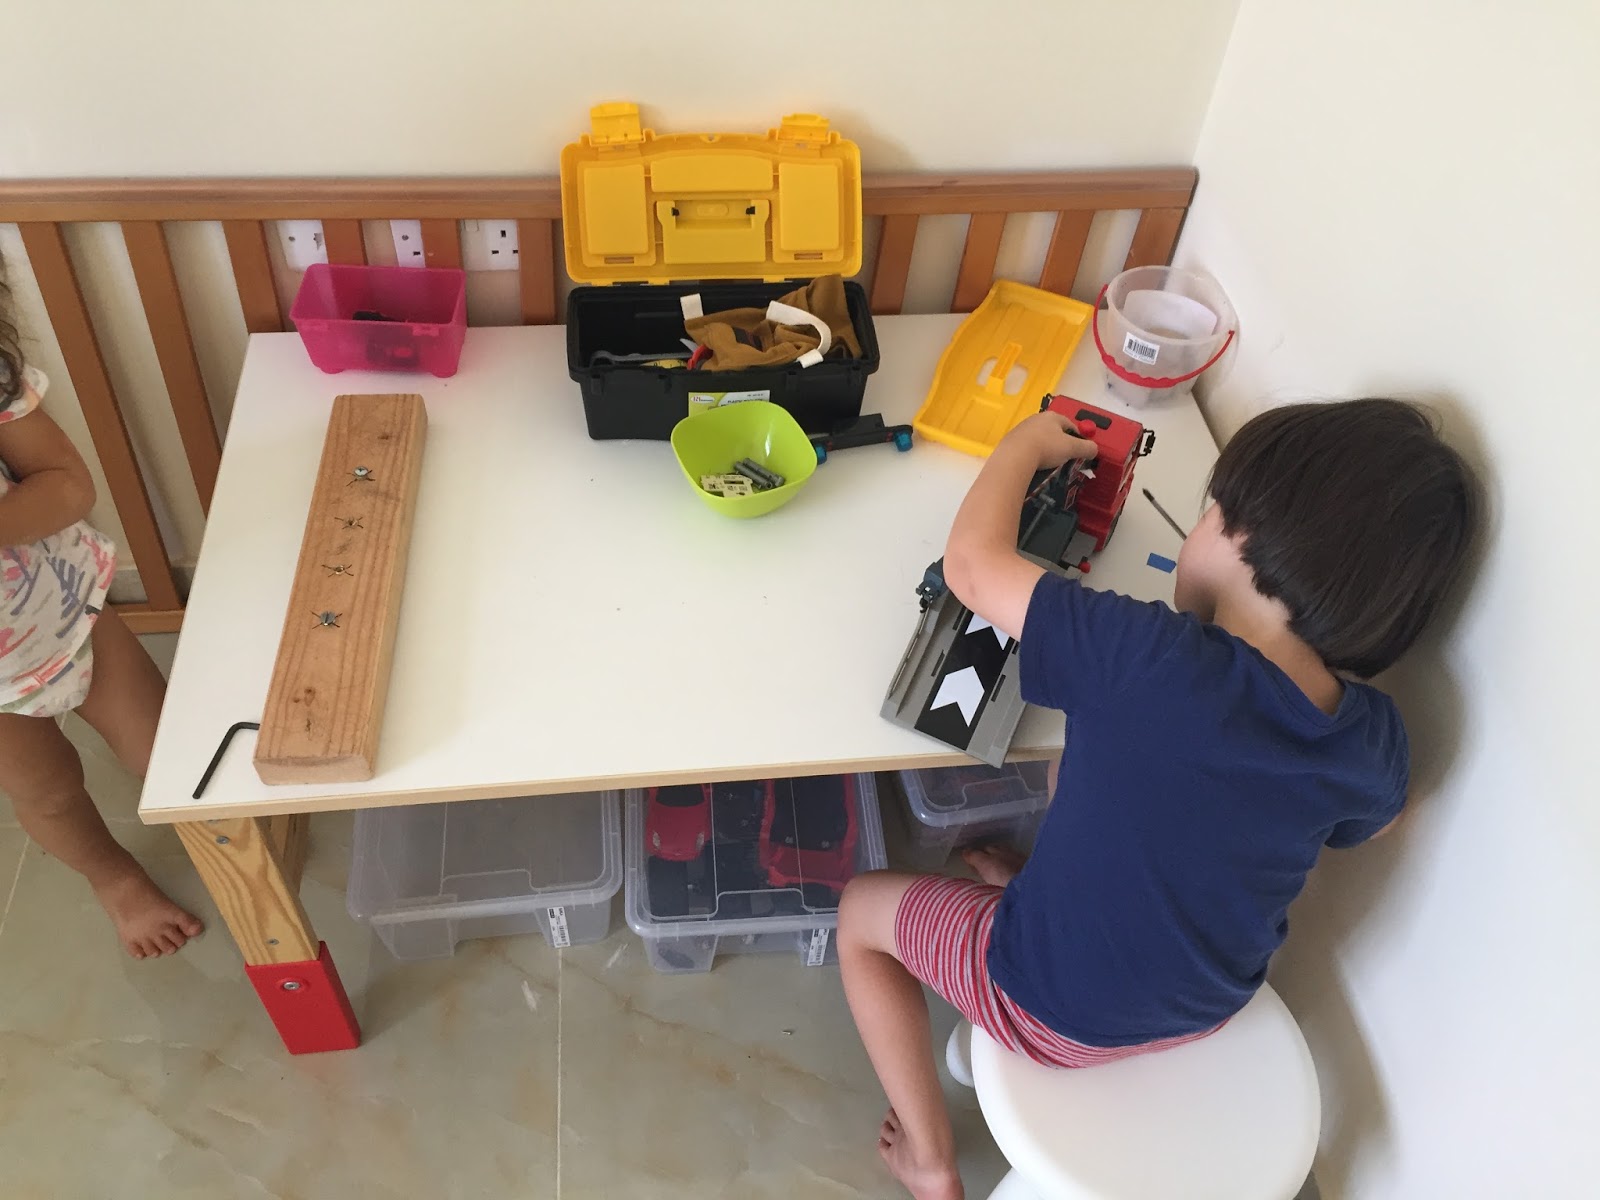
We have a new work bench now!

Pink tower + Brown stairs = cool creations :)

House work is a part of school work, too.

The moon (Mimi) orbiting the Earth (Abe)


And when it rains in the desert you drop everything and go jump in some puddles!


This school year we are feeling refreshed and ready for a very productive year, God-Willing. Abe is now 4 and Mimi, 3, so they are both at the primary level (ages 3-6) which means teaching them has been a little easier because Mimi is more focused and interested in the work I'm introducing to Abe. We are looking forward to introducing the decimal system, addition and subtraction and watching Abe's writing and reading skills progress and for Mimi to begin the journey to reading this year, as well. Practical life work is still extremely important and a lot of fine motor work will still be on our shelves along with tons of sensory materials because refinement of the senses is just so important for little ones.

And finally, the most exciting and blessed parts about this school year is that we get to start it off in our very own school room. We have had it since we moved in December to our new place. We have really made it our special learning space, and I just can't wait to start the year with it finally complete and to share it with other children in our community. A separate post is in the works with a full tour, but for now a simple photo :)


Until next time...peace be with you!

Monday, December 12, 2016

The Riding Club


I feel very strongly that it's important for children to learn about the natural world from a young age. They need to feel connected to what is around them because if they don't have that connection then they won't appreciate it or think twice about destroying it. That's why this year I started incorporating some zoology into Abe and Mimi's schooling so from an early age they are aware of the natural world and all the amazing plants and animals that inhabit it. So far we have gone through living and non-living for the month of October and mammals for November. They both really enjoyed learning the similarities between humans and other animals.

For the last week of mammal study we focused on horses since Abe and Mimi have both been very interested in them lately. So that meant some horse-themed work to learn about horses and a trip to the local riding club in Dubai! It was such a blast. The kids were so happy to see the horses, ride them and feed them.

I was really surprised that Abe got right on the horse without hesitation. He took to it very quickly and it seemed so natural for him. Mimi was a little scared but eventually warmed up to it after holding my hand for a few minutes. It was a great first experience for them and will definitely be something we do more often.


Tuesday, December 6, 2016

The Pink Tower


The pink tower is one of the many educational materials Dr. Montessori made for her students. I gave Abe and Mimi a lesson on the pink tower (stacking largest to smallest) many months ago just before we left Saudi Arabia using guidelines from infomontessori and "Basic Montessori" by David Gettman, but we recently revisited the lesson mainly for Mimi since she was just 2 years old at the time of the first lesson and now she is 2.5 and showing lots of interest in it. You might wonder, "What makes the pink tower so special?" Well all the materials Dr. Montessori made are the result of her careful observations of children and their development. Every material she designed was to aid the child's development. The pink tower has two distinct purposes and that is to develop visual discrimination of differences in three dimensions and fine muscular coordination, but also indirectly "prepares the child for the concept of numbers" and for "later work in geometry," according to Gettman. 

In this video below you will see Mimi doing the pink tower on her own for the first time. She chose to do this activity, first rolling out the work mat and carefully setting out each piece. If you watch carefully you will see her correct herself as she tries one block and realizes it is not correct for stacking largest to smallest. Also notice that I never interrupted her! I let the process flow, and it is just so beautiful to see her thinking and figuring it out for herself :)


I also just want to note that the formal lesson on the pink tower is making a tower from the largest block to the smallest but the pink tower can be manipulated in many ways. Abe and Mimi explore many other possibilities with the pink tower, which is absolutely fine. 

Tuesday, November 29, 2016

Thanksgiving!


With its all its controversy, we love Thanksgiving. We always make our own decorations, prepare food and clean together to get ready for the holiday, but the kids really enjoyed having some themed trays last year so we did it again this year!


We have been going through a lot of transitions and one of the biggest ones has been settling into a new country. Homeschooling has adapted a bit to cater to our small hotel apartment but we are making it work. This is what our work table looked like for Thanksgiving week. The work available to them is a lot less than our usual shelves with up to ten rotating weekly activities back in Saudi, but for now we are making the best of what we have.


The Work Table (clockwise): Clothespin turkey, Thanksgiving images on cutting strips, gluing practice, pencil sharpening, pumpkin sensory basket and book on autumn

Making a clothespin turkey and Thanksgiving cards were Abe and Mimi's favorite trays. The clothespin turkey was especially good for Mimi in helping her work on strengthening her hands. For the first day she was quite frustrated because she couldn't open the clothespins but she was persistent and I continued to model for her how to carefully open the clothespin using the tips of my fingers. By the end of the week she was finally able to make her own turkey and boy was she happy. "I did it, look!" Music to my ears :)
Abe making a clothespin turkey
I used these cutting strips and cut a few out myself to make a gluing tray where they could make Thanksgiving cards.
Thanksgiving card with images glued

And of course there were Thanksgiving preparations to be done as well! This year we made a Thanksgiving banner painting stencils, and then I cut them out and strung them on some gardening twine.


Painting Stencils!


 And, of course there was the food. They were really only interested in making the pies this year! We made the pie crust from scratch and completely by hand. They loved digging their little fingers into the dough and smacking it together to form a disc-shape. Scooping pumpkins did not get the same excitement but they still enjoyed scooping the "guts" out.


Scooping pumpkins for pumpkin pie
We also made a "Thankful" tree (no photo, sorry!), inspired by Craftionary. The kids are a bit young to understand the concept but the idea was to get them thinking about what they have and being thankful for it. They were really interested in tacking the leaves on the tree but not so much about talking about being thankful. 

Happy Thanksgiving!

Sunday, September 25, 2016

Our Montessori-Inspired Kitchen

I really miss it. Our kitchen in Saudi Arabia. This is where so many wonderful memories took place and lots of bonding while we cooked together and explored new recipes. 
Abe and Mimi's eating space and cleaning space (left)

The kitchen is an important place in every home. It is the heart of the home and that's why it's so important to accommodate your child by giving them opportunities to participate in kitchen work.

As always, when setting up a space for your child you must keep it very organized and simple. It helps to break down the steps in your brain and even practice how you model setting the table, putting away the dishes, doing the dishes, cleaning up a mess etc., before introducing these things to your toddler. You want to make sure all the tools and materials your child might need to complete these tasks are easily accessible. So here is a look our (old) setup!

Table Setup Drawer #1

 I was foruntate enough to have three empty drawers in my kitchen so I arranged them in order of what goes first to last when setting the table. For drawer one, I had place mats, napkins and cutlery.  


Table Setup Drawer #2

Plates and bowls were in the next drawer below.

Table Setup Drawer #3

In the next drawer below drawer two I placed cups and pitchers (milk creamers). Milk creamers worked great for us as pitchers. They were just the right size for their small hands and also didn't take up so much space on the table. 


Dirty Dish Bucket

The clean up is just as important as the setup, so I also set up a place to put the dirty dishes. Since the sink was not easily accessible without a stool this was the best option for us. When they were finished they knew to put their dishes in the bucket, though they needed a reminder sometimes!
Hand Washing Station
  This was my attempt to make a hand washing station. This was mostly set up for Mimi since at that time (about 18 months - 2 years) she couldn't reach the sink in our bathroom even with a stool and faucet extender. When she wanted to wash her hands she would ask for water in the pitcher. She would then pour the water in the basin and complete her hand washing and dump the water in the bucket below. Although there was some dependency on me, she was still very happy to be able to care of herself. 


So that's a quick view of our (old) kitchen. With a little thought and effort you can really make such a huge difference in your child's home environment. Stay tuned for some fun posts on our schooling adventures in Dubai!

Monday, June 20, 2016

Our Montessori-Inspired Bedroom

Abe and Mimi's first Montessori bedroom


This is the first in a series of posts on the importance of environment set up in the Montessori world. This was Abe and Mimi's first bedroom in Saudi Arabia that I completely transformed to make it child-friendly (aside from the crib - it just worked for us.) 

A big attraction in the room was the self-care area (below), which was where we spent the year practicing blowing noses and putting on shirts, along with brushing hair, of course! I took a nightstand and used that as a table for them to stand at and they had two trays - brushes to the left and folded tissues to the right.  I used a simple adhesive mirror from IKEA since it was such a pain to hang anything on cement walls. There was also a small trash bin which they both took pride in emptying out regularly.


Next to the self-care area was just a small open floor space where we hung our map and I would rotate the types of puzzles on the rug, or some times none at all. I highly encourage every parent invest in a map. Children are so interested in geography!


As a separator between the reading corner and open space I used a small Kallax shelving unit where I would store puzzles and books, and rotate them weekly or bi-weekly, or not at all if they were still being used regularly.


I also used some sticky hooks and hung dressing frames on the side. 


Now for the most beloved part of the room, the reading corner! This was a space for a lot of bonding time for everyone, whether it be sitting to read a book, working through a tantrum or just hanging out. Abe and Mimi really loved this space.


As you can see...


The closet was a bit challenging to set up at first because I was trying to find a way to accommodate Mimi and make her clothing accessible to her, since she is small for her age. I finally settled on using a small step stool so she could access her clothing on the rack. I also installed a low shelf to store their games, which they could also access themselves. 

**Something important to note is that I only gave them two options for clothing everyday. They each had a side of the closet with two shirts hanging and two bottoms in the labeled baskets (pajamas were also in baskets). This allowed them to easily choose without frustration and gave them autonomy.** 


And finally, a small corner where we kept a few toys. These were never rotated because they were always being used.


Abe and Mimi really miss their room, but I know once we settle in our new place they will love the new one just as much. It doesn't take tons of money and fancy stuff to make a bedroom like this - all you need is some planning and thinking of ways to accommodate your little one!